Enabling routing and NAT on Microsoft Windows Server 2016
Steps: Enable routing on Microsoft Windows Server 2016
- You must first deploy the Routing and Remote Access Service on Windows Server.
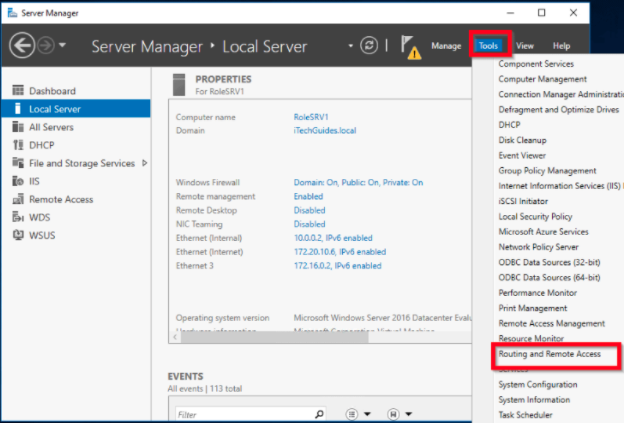
- After you have deployed the Routing and Remote Access Service, access Server Manager, click Tools, and select Routing and Remote Access.
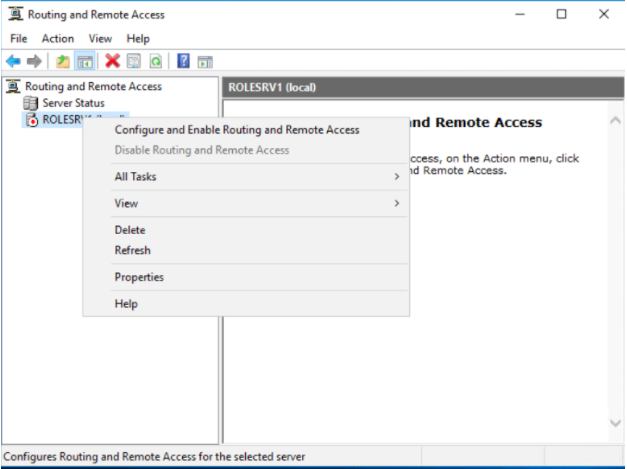
- In Routing and Remote Access, right-click the server, and select Configure and Enable Routing and Remote Access.
- When the setup wizard launches, click Next.
- Select Custom configuration and click Next.
- Select LAN routing and click Next.
- On the summary page, click Finish.
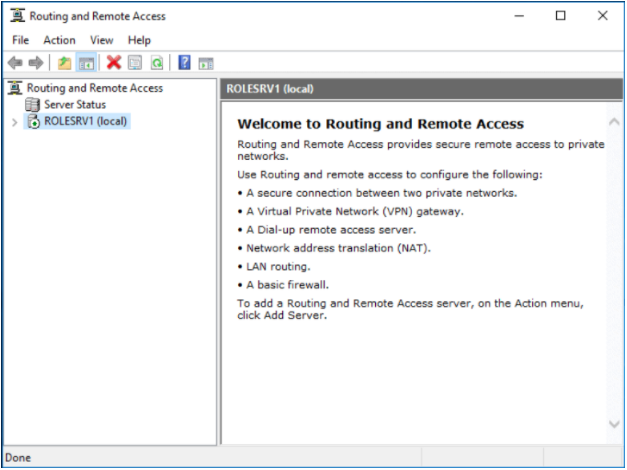
- Click Start service and wait for the service to start.
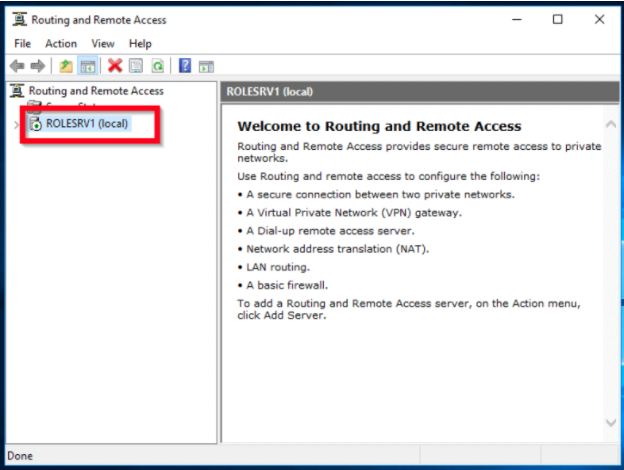
- The server status dot turns from red to green.
- Expand the server, expand the IPv4 entry, and click on the General node.
Steps: Enable NAT on Microsoft Windows Server 2016
- Sign in to the member server that has the Remote Access role installed.
- Open Server Manager, and click Tools and select Routing and Remote Access.
- Right-click the server, and select Configure and Enable Routing and Remote Access.
- When the wizard opens, click Next.
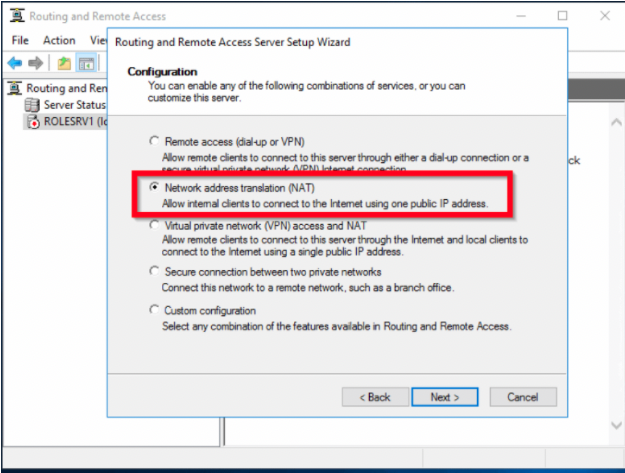
- Select Network address translation (NAT) and click Next.
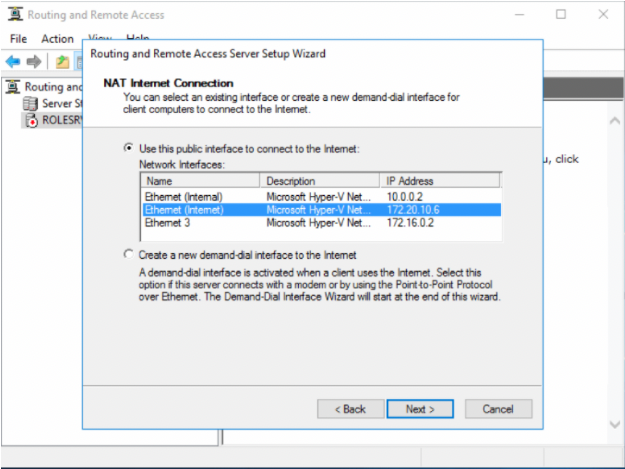
- Select the network interface that your users will use to connect to the internet, and then click Next.
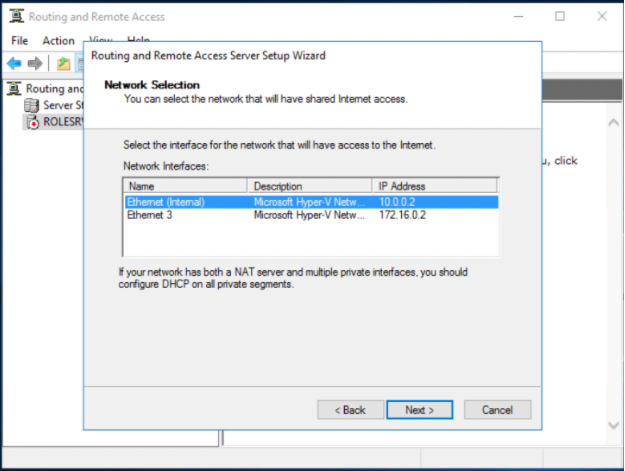
- Select the network adapter that shares the internet connection, and then click Next.
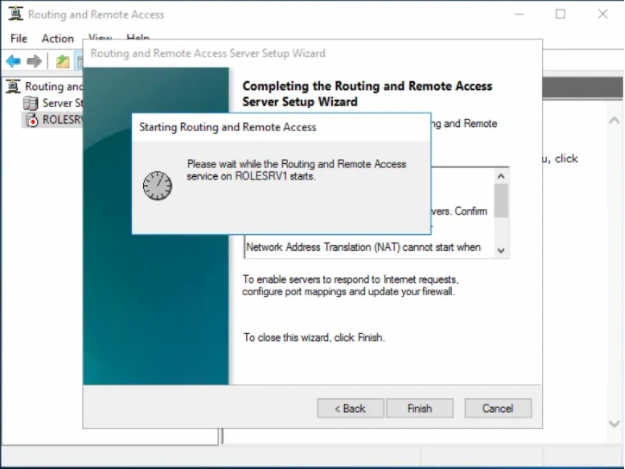
- Review the summary and then click Finish.
The wizard initializes and starts the RRAS service. Once the initialization completes, the server status icon changes to green.
- Restart the server.
For more information and configuration instructions, refer to this tutorial: https://www.youtube.com/watch?v=a1xYi6pxA_4